Archived interior disassembly procedure. The source notes differences between early cars and 1995.5/later cars.
Procedure
UrS4/6 Rear Console Removal
Step 1: Remove shift knob by unscrewing (standard RH thread).
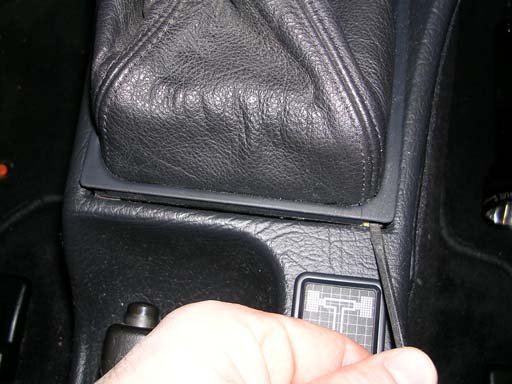
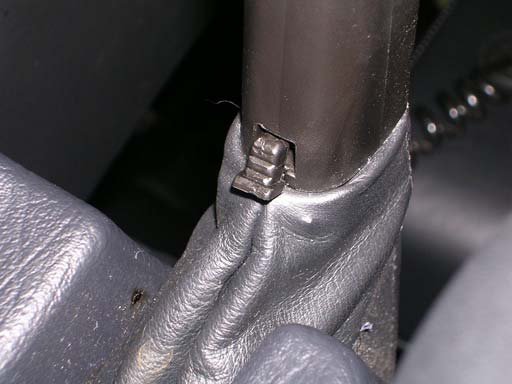
Step 2: Remove shift boot by prying gently at rear (Figure 1). There are retaining clips at the rear, and slide in tabs at the front. Once rear is free of the retaining clips, pull towards rear to free tabs and lift off shift lever.
Figure 1
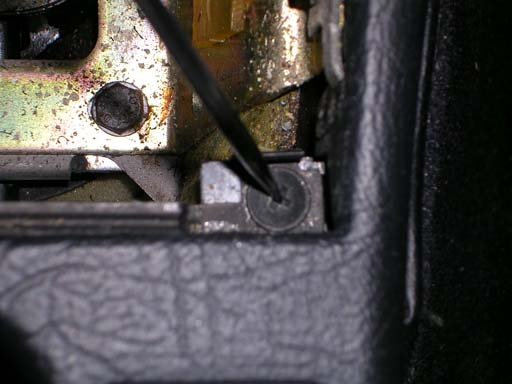
Figure 2
Step 3: Remove two (2) Phillips head screws located under shift boot that hold the front of the rear console (Figure 2).
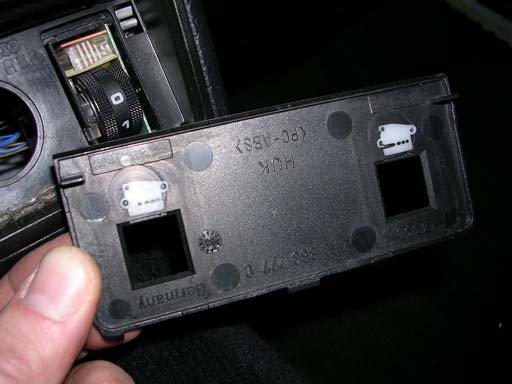
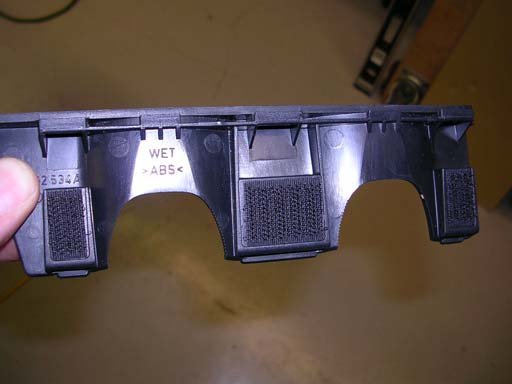
Step 4: Remove the rear seat heater trim plate from rear of console. Pry gently from the top to release two (2) retaining clips, and lift off three (3) tabs on the bottom. The removed plate is shown (Figure 3).
Figure 3
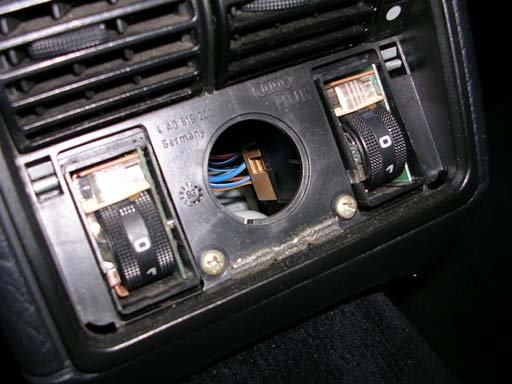
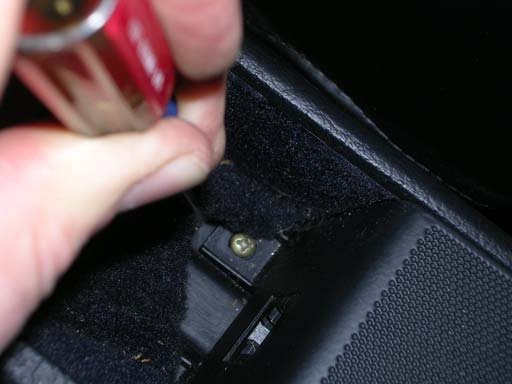
Figure 4
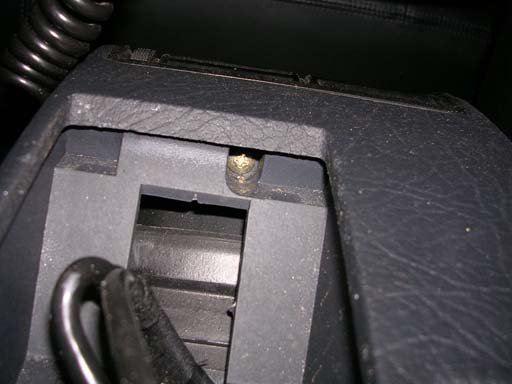
Step 5: Remove the two (2) Phillips head screws now revealed (Figure 4).
Step 6: Remove cup holder side panels by grasping at the bottom and pulling towards the center. They are fastened by Velcro, and tabs at the top (Figure 5).
Step 7: Pull up the cloth liner from the cup holder area starting from the rear by the phone speaker. Remove two (2) Phillips head screws revealed beneath (Figure 6).
Figure 5
Figure 6
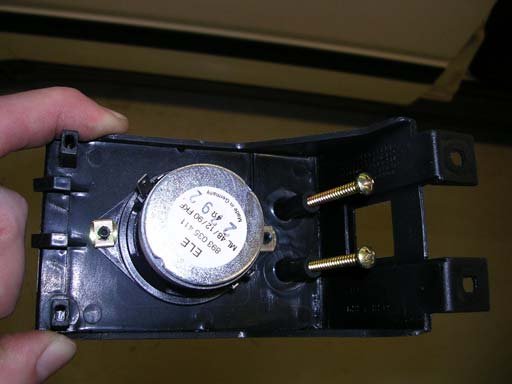
Step 8: Unplug phone receiver cord from jack. Remove phone speaker by lifting and pulling forward. Rear tabs will pull out of slots (Figure 7). Disconnect phone speaker wiring.
Figure 7
Figure 8
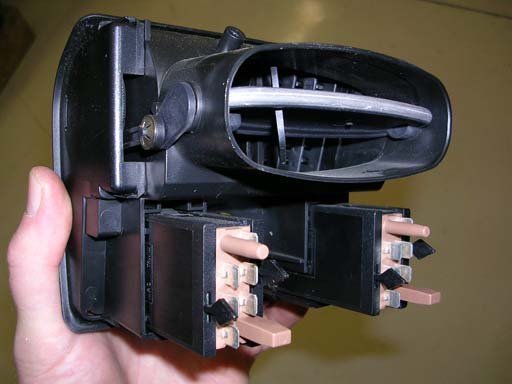
Step 9: Remove single Phillips head screw now revealed (Figure 8) and remove rear seat air duct by pulling rearward. Disconnect rear seat heater thumbwheel connectors (Figure 9).
Figure 9
Figure 10
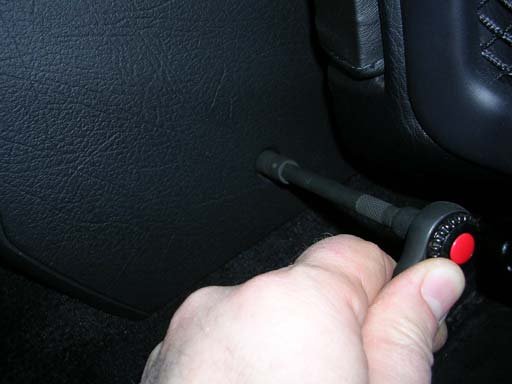
Step 10: Pull up parking brake handle and remove pin by prying gently with a small screwdriver (Figure 10). Slide parking brake handle/boot assembly off shaft.
Step 11: Run both seats forward and remove two (2) 8mm bolts from side of console (Figure 11).
Figure 11
Figure 12
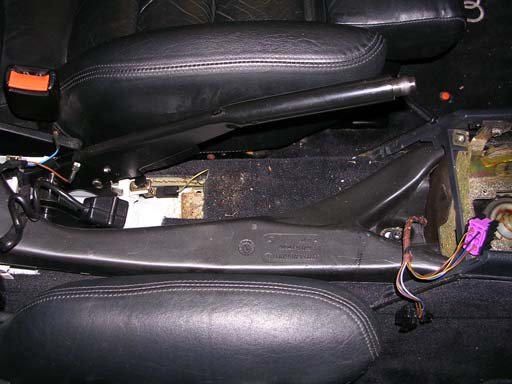
Step 12: Put shift lever in first gear, lift console from front, then slide forward off parking brake shaft.
Step 13: At his point you should have the console in your hands, but still attached to the car from underneath by a variety of wiring harnesses depending on the year of your vehicle. On 92-95 cars, there should be enough harness to get the console flipped over to easily remove the harness connectors from the Diff Lock switch (Figure 12). 95.5 cars will differ slightly since the Diff Lock switch was eliminated and the cigarette lighter was moved to the console.
Congratulations, you’re done.
Steve Young
Additional Photos
Related Tech Tips
Revision History
- — Updated
