Archived interior disassembly procedure. Trim details and radio equipment vary by model year.
Procedure
UrS4/6 Front Console Removal
*Have your radio code available*
Step 1: Remove rear console (see separate write-up for this).
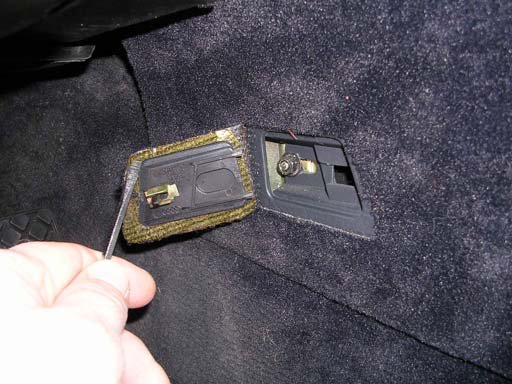
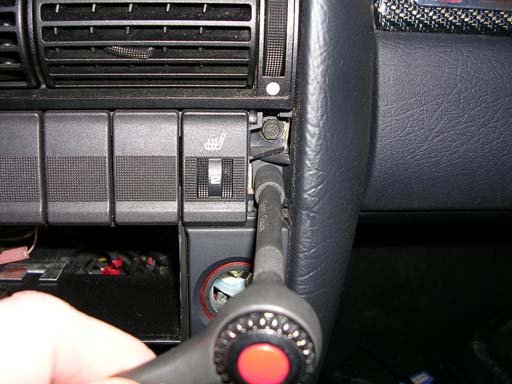
Step 2: Open flap on console in driver’s side footwell and remove one (1) 8mm nut (Figure 1).
Figure 1
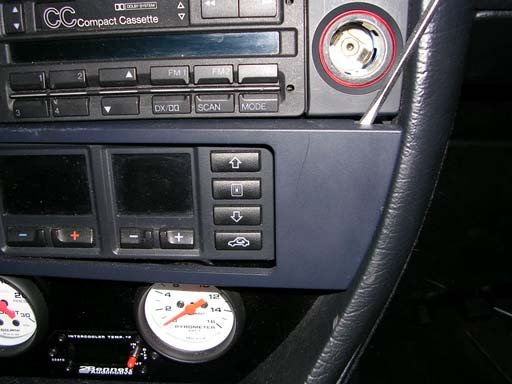
Figure 2
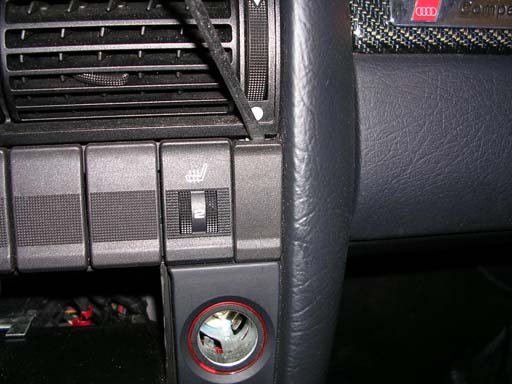
Step 3: Remove trim panel around climate control head by gently prying with a small screwdriver (Figure 2).
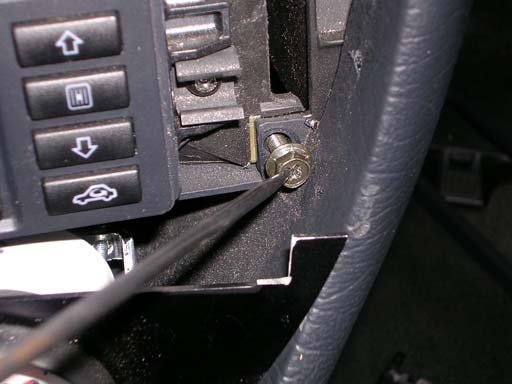
Step 4: Remove ashtray by removing two (2) Phillips head screws now revealed (Figure 3). Disconnect ashtray light harness. (My ashtray had been previously removed to install the gauge panel).
Figure 3
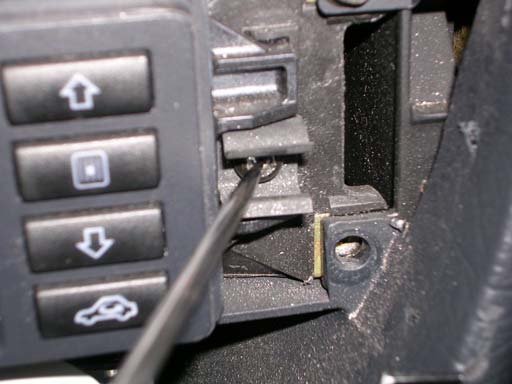
Figure 4
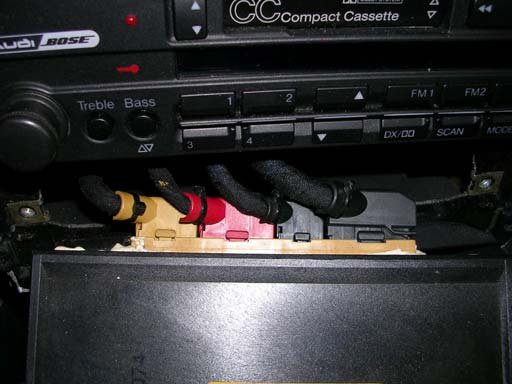
Step 5: Remove climate control head by removing two (2) 4mm Allen head bolts (Figure 4). Slide climate control head unit out and disconnect the four color coded harnesses from the rear of the unit (Figure 5).
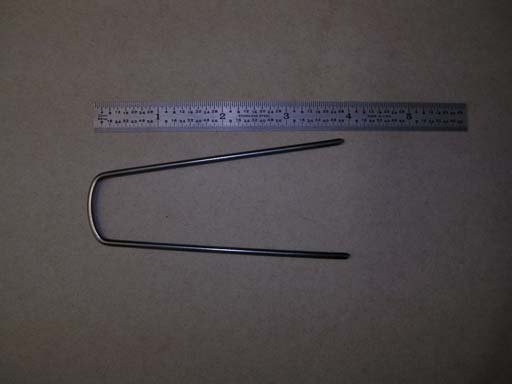
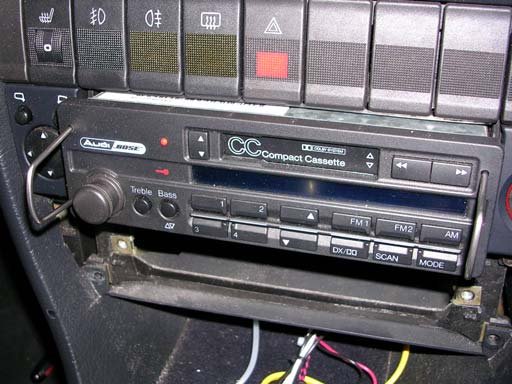
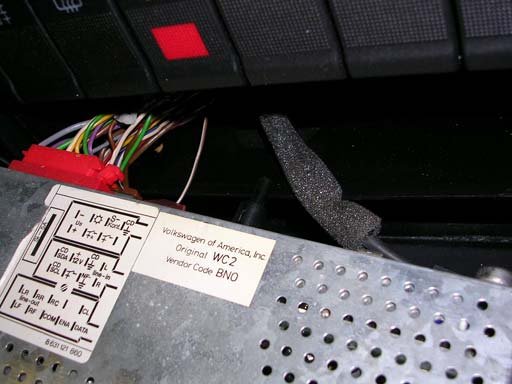
Step 6: Release radio using the special radio tool. Push tools in until radio releases. I bought mine off eBay for a few bucks, but others have made them out of coat hanger material (Figure 6 & 7). Slide radio out and disconnect harnesses from rear of unit (Figure 8).
Figure 5
Figure 6
Figure 7
Figure 8
Step 7: Pop off two (2) trim plates, one (1) at each end of the row of switches using a small screwdriver (Figure 9). Remove two (2) 8mm bolts now revealed (Figure 10).
Figure 9
Figure 10
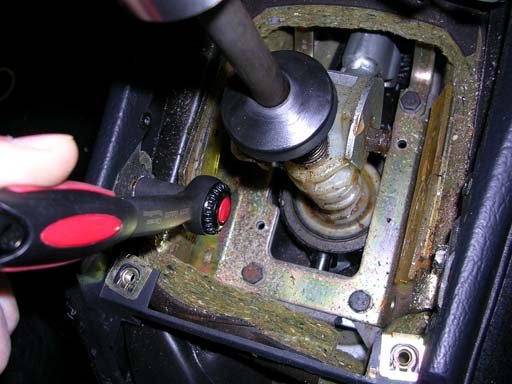
Step 8: Loosen two (2) 8mm bolts near shift lever (Figure 11). They do not need to be removed.
Figure 11
Figure 12
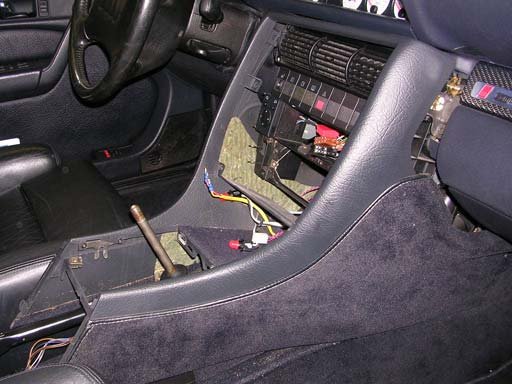
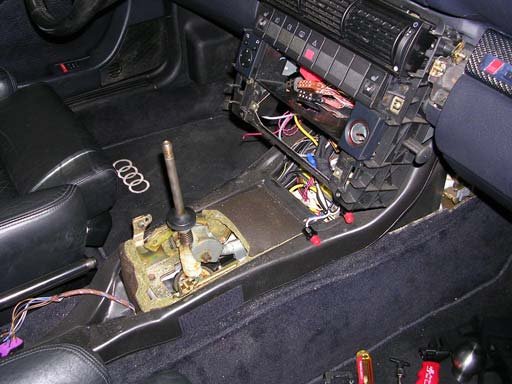
Step 9: Put shift lever into fourth gear, and make sure parking brake lever is down. Lift the rear of the console off the bolts you just loosened, and pull the console rearward once it is clear of the shift lever. You may have to run your fingers along the sides to break the seal if the console has not previously been removed (Figure 12).
Congratulations, you’re done (Figure 13).
Figure 13
Steve Young
Additional Photos
Related Tech Tips
Revision History
- — Updated
