Archived C4 HVAC procedure. Verify servo part compatibility and linkage operation before installation.
Procedure
C4 chassis Temperature Flap Servo Motor R&R
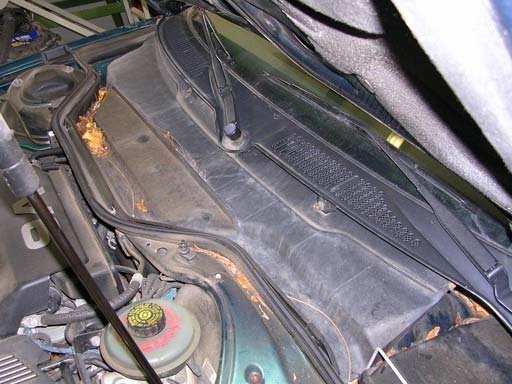
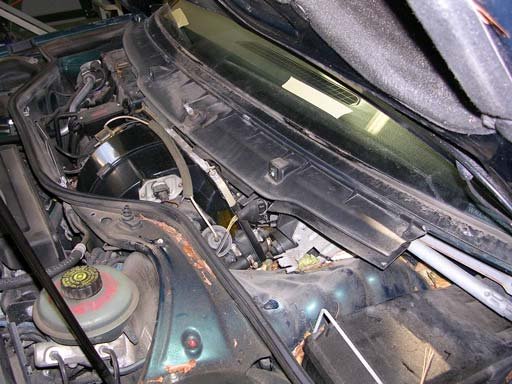
Step 1: Open the hood and remove the rain tray (Figure 1). It is secured by four clips. Lift up and slide toward the front of the car.
Figure 1
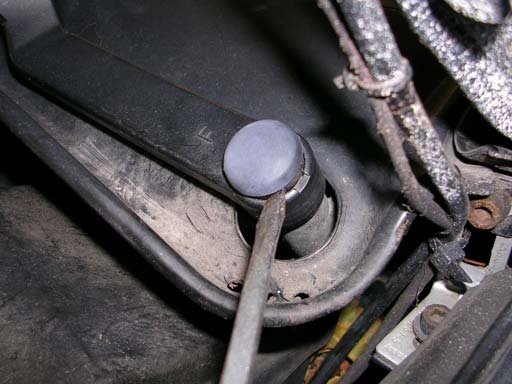
Figure 2
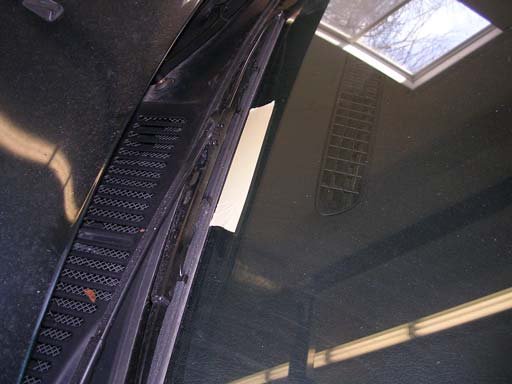
Step 2: Remove wiper arm caps (Figure 2), and mark wiper arm locations on windshield with masking tape (Figure 3). There will be a 13mm nut under each of the caps you just removed. Remove the wiper arms by gently prying from underneath. Use a rag to protect the paint on your fender, and cover the end of the wiper arm with your hand to prevent the washer under the wiper arm nut from flying to the far recesses of your workspace.
Figure 3
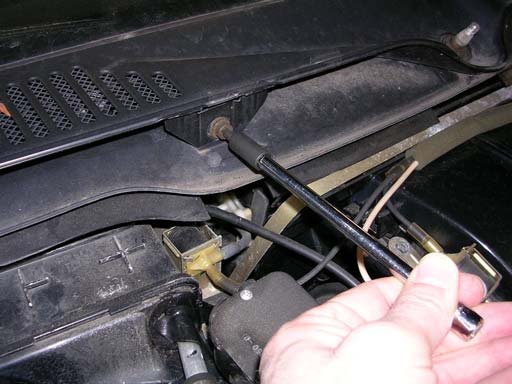
Figure 4
Step 3: Remove the wiper assembly metal shroud. There are (4) 5mm Allen screws (Figure 4).
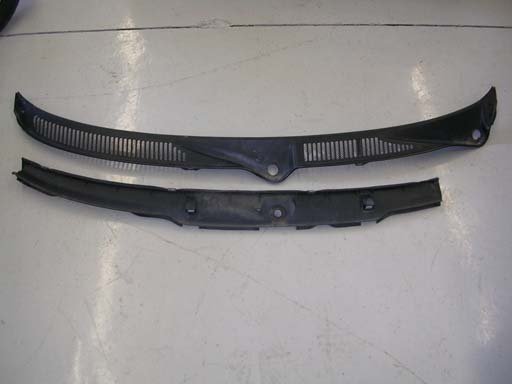
Step 4: Remove the wiper assembly plastic shroud. There are (4) clips that hold it in place (Figure 5). Figure 6 shows the two pieces you just removed.
Figure 5
Figure 6
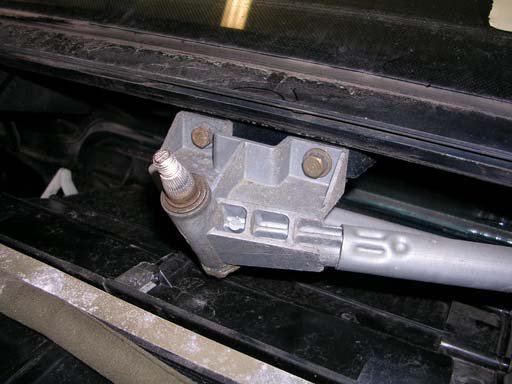
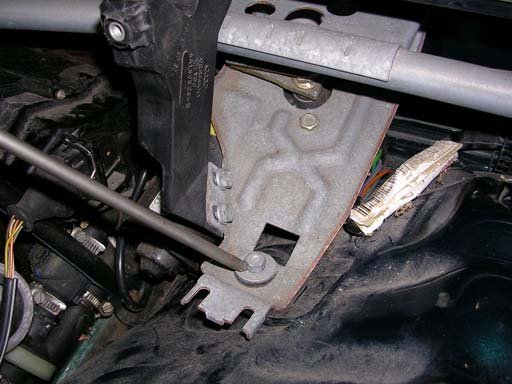
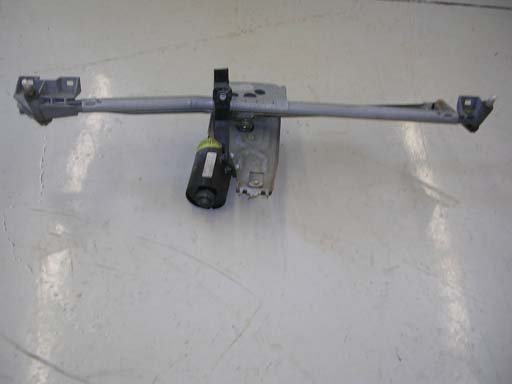
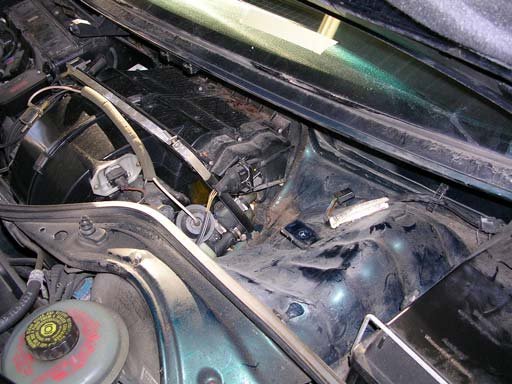
Step 5: Remove the wiper motor drive assembly. There are (3) 10mm bolts and (1) 10mm nut. Figure 7 and 8 show two of the three assembly removal points. Figure 9 is the whole assembly removed. This is a good time to vacuum out this area.
Figure 7
Figure 8
Figure 9
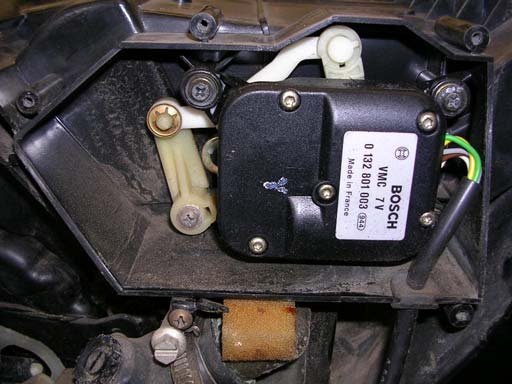
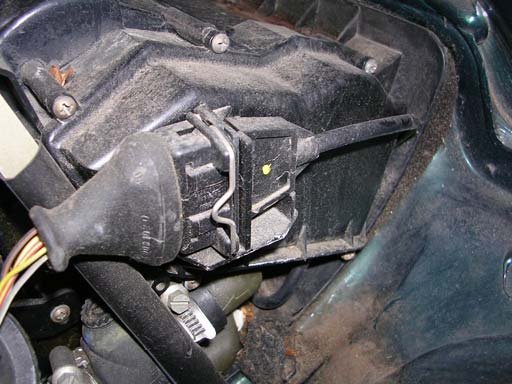
Step 6: You now have good access to the blower unit. Remove the cover over the flap servo. There are (5) Phillips head screws. You will need a stubby screwdriver for the lower screws. The cover is behind the connector in the center of Figure 10.
Figure 10
Figure 11
Figure 11 shows the servo motor exposed. Test your servo before removing it by turning on your car and cycling your climate control from “HI” to “LO”. You should see smooth full stroke movement if your servo is good. If your servo is truly inoperative, disconnect the connector in Figure 12.
Figure 12
Step 7: Remove the servo and linkage. There are (4) Phillips head screws. Gently, pry the linkage off the flap shaft.
Step 8: Attach connector to new servo, turn on car and set climate control to “LO”, and allow the servo to set the linkage position. This will allow easier re-installation of the servo to the blower housing. Turn off car, and separate connector.
Step 9: Rotate flap shaft to match linkage and press linkage onto shaft. Re-attach servo to blower housing. Attach connector and test new servo as in Step 6. Separate connector and re-install servo cover. Re-attach connector.
Step 10: Put your car back together in reverse order. Congratulations you just saved yourself some money.
Additional Photos
Related Tech Tips
Revision History
- — Updated
