
Archived fabrication/modification article. Donor parts and exact fitment may vary.
Procedure
The UrS4 has an airfoil integral with the wiper blade. This foil exerts a downward force on the blade and keeps the blade on the glass at high speed.
The suspension points on the regular blade freeze up in winter, resulting in poor wiping. Rubber sheathed winter wiper blades are available to solve this problem, but these blades do not have the airfoil. The blade begins to lift off the glass at speeds over 100 kph, and can be completed lifted off the glass at 130+ kph.
I tried adding auxiliary springs, but they only delayed lift-off to 120 kph. I have added an airfoil off the Type 44 wiper arm to the UrS4 wiper arm – this seems to have resolved the problem with the winter wiper blades.
The mod is as follows:
1. Obtain a Type 44 left wiper arm with foil intact.
These foils tend to fall off with use – I had to go through 5 wrecks to find one intact.
Photo 1 Type 44 Left Wiper Arm and Airfoil
2. Remove the foil from the arm.
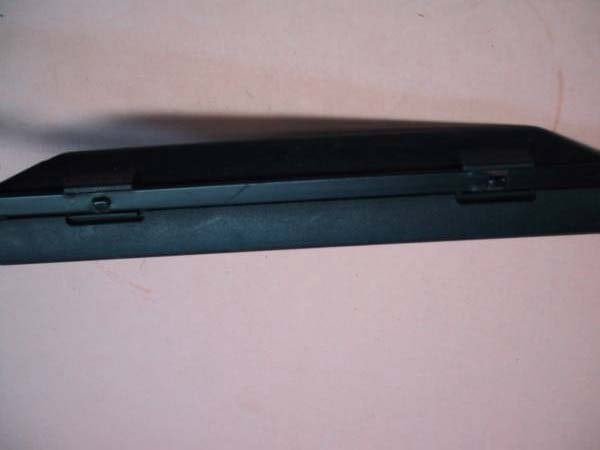
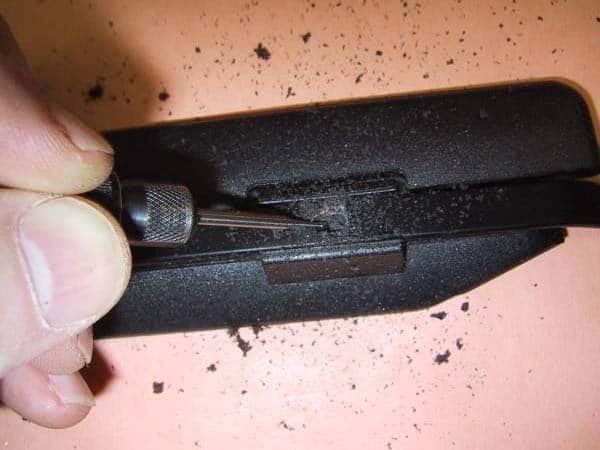
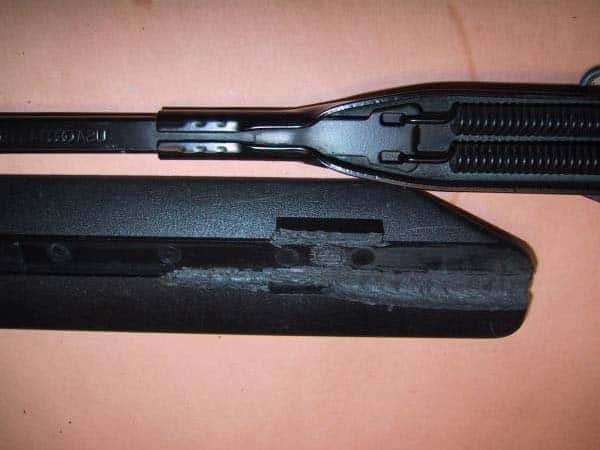
It is secured by extruded plastic pins inserted through holes in the arm (see Photo 2). Cut out the pins with your Dremel tool or equivalent (Photo 3).
Photo 2 Pins securing foil to wiper arm
Photo 3 Cut out plastic retaining pins
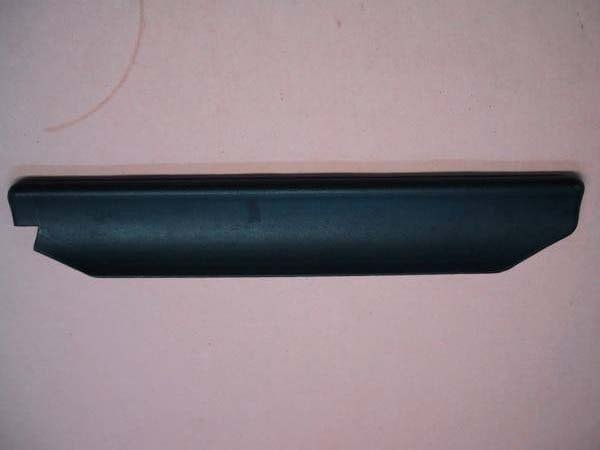
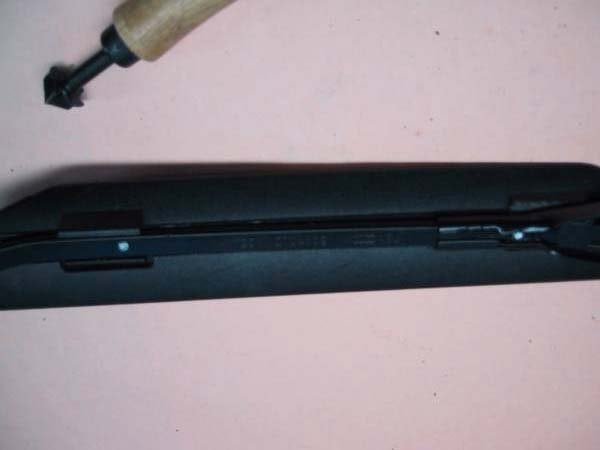
3. Smooth off the remainder of the pins once the foil is removed from the arm. Note the flat surface the arm was mounted on (Photo 4) – it is important to maintain this relationship of wing to arm when the foil is installed on the UrS4 arm.
Photo 4 Underside of foil – note arm mounting surface
4. Prepare foil.
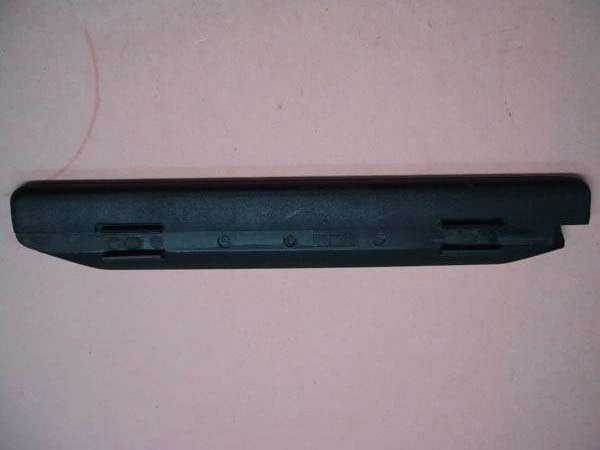
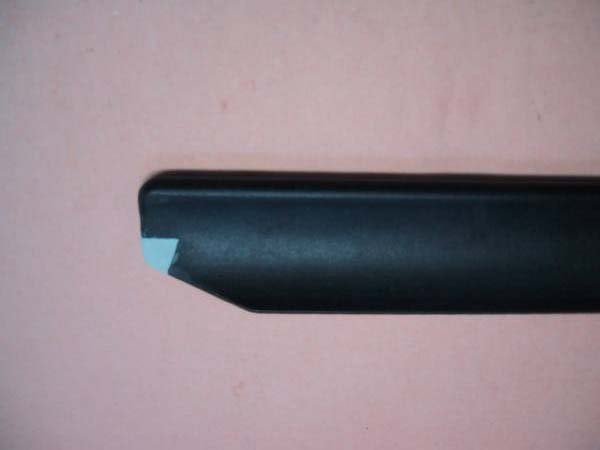
Photo 5 shows the topside of the foil. Note there is a notch cut out of the back right corner to clear the Type 44 wiper arm. This can be filled in with epoxy putty, but only the most hopelessly anal of owners would go to this extreme. The filled arm is shown in Photo 6.
Photo 5 Foil topside – note clearance notch cut out of right side.
Photo 6 Clearance notch filled and faired.
5. Position the foil on the UrS arm and cut a clearance groove on the left side of the foil.
The Type 44 arm is much longer than the UrS arm, and the foil mounts over its entire length to the narrow section of arm. In the case of the shorter UrS arm, the foil extends over the stamped steel spring housing. To maintain the correct approach angle on the foil, the underside of the foil must be relieved where it sits over the spring housing (Photo 7). I positioned the foil so that it didn’t extend too far past the bend on the far right of the arm – you have to be able to get the blades on and off the mount. On the other hand, you want the foil as far out as possible for maximum leverage. Mark the arm outline on the foil and use a Dremel to cut out the appropriate shape in the foil as shown in Photo 7. The foil must sit flat on the thin arm section – this sets the correct approach angle.
Photo 7 Clearance groove cut in foil
6. Mount the foil on the UrS arm
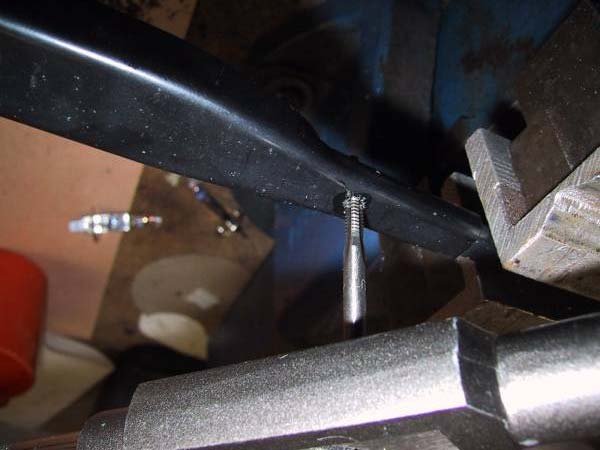
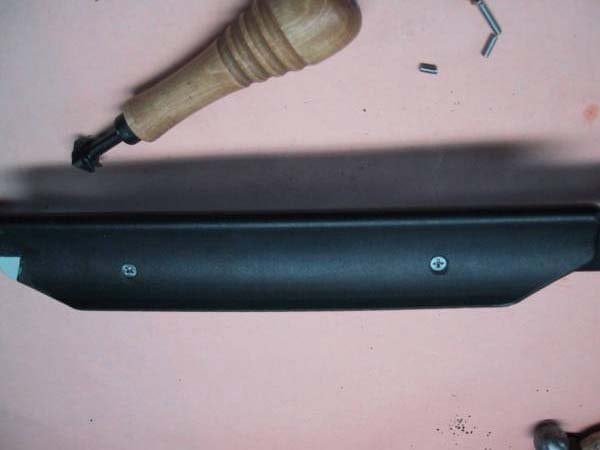
I secured the foil to the arm using stainless 6-32 machine screws. I drilled and tapped the arm to take the screw. The right end screw was inserted near the original foil mounting point. The left side location was dictated by the arm – I drilled through the area where the spring holder was crimped to the arm end (see Photo 8). Use flat head screws and countersink the screws into the foil (Photo 9). Use Loctite. The bottom of the mounted foil showing the screw positions is shown in Photo 10. Bedding the foil in epoxy is probably a good idea – this install was my test case, so no epoxy.
Photo 8 Drill and tap wiper arm
Photo 9 Installed foil – topside
Photo 10 Installed foil – underside
7. Paint and install on car. Enjoy!
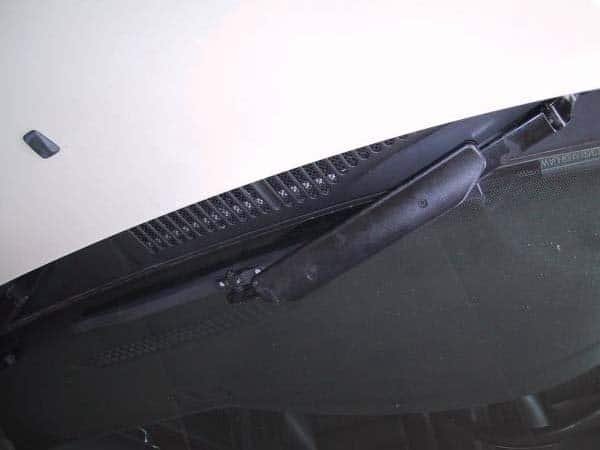
Touch up your masterpiece with flat black paint and install it on the car. Photo 11 shows the installed WiperWing. Enjoy !
Photo 11 Completed WiperWing assembly
Fred Munro ’94 UrS4
Additional Photos
Related Tech Tips
Revision History
- — Updated
